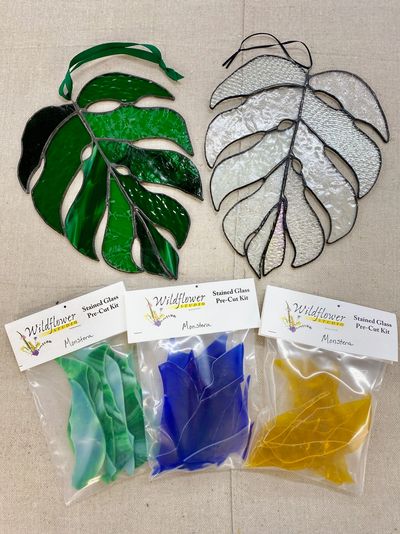
Stained Glass Art How-To
A Step-by-Step Tutorial
Stained glass art, with its interplay of light and color, has captivated artists and admirers for centuries. Today, this timeless craft can be a fulfilling DIY project. Whether you're a budding artist or a seasoned crafter, making stained glass art at home is both achievable and immensely rewarding.
Materials Needed
- Glass sheets in various colors
- Glass cutter
- Copper foil
- Soldering iron and solder
- Stained glass design pattern
- Lead came (for framing)
- Flux and brush
- Safety gear (gloves, goggles)

Step 1: Design Planning
Start by choosing a design for your stained glass. This can be a pattern you’ve drawn yourself or one you’ve sourced. Transfer this design onto a thick paper or cardboard, which will serve as your template.

Step 2: Cutting the Glass
Wear safety gear to protect your hands and eyes. Using a glass cutter, carefully cut the glass pieces by following your template. Smooth the edges of each glass piece with a grinder to prevent sharp edges.

Step 3: Applying Copper Foil
Wrap the edges of each glass piece with copper foil, ensuring it's centered with equal amounts on both sides. This step is crucial for soldering the pieces together later.

Step 4: Assembling the Pieces
Lay out your foiled glass pieces on top of your design template. Adjust as necessary to make sure all pieces fit together well.

Step 5: Soldering
Apply flux on the copper foil and then, using the soldering iron, melt the solder over the foil to join the glass pieces. Be sure to solder both the front and back for a sturdy construction.

Step 6: Framing
Once all pieces are soldered, encase the edges with lead came for a neat finish. Cut the came to size and solder it to the edges of your glass panel. FYI, the term "lead came" refers to slender, H or U-shaped strips of lead that are used in the assembly of stained glass windows and other glass artworks. These lead strips serve a dual purpose. Firstly, they hold the individual pieces of glass together, forming the framework of the artwork. Secondly, due to their malleable nature, they allow for the creation of intricate designs and patterns.

Step 7: Cleaning and Polishing
Clean the stained glass with a soft cloth and glass cleaner to remove any flux residue. Polish the soldered lines and lead came for a shiny finish.

Conclusion
And there you have it—your very own piece of stained glass art! This project requires patience and attention to detail, but the result is a beautiful, handcrafted work of art that you can display with pride. If you'd like to give this a try with skilled artists who can help you through the process, be sure to check out the classes that Wildflower Studio offers!

